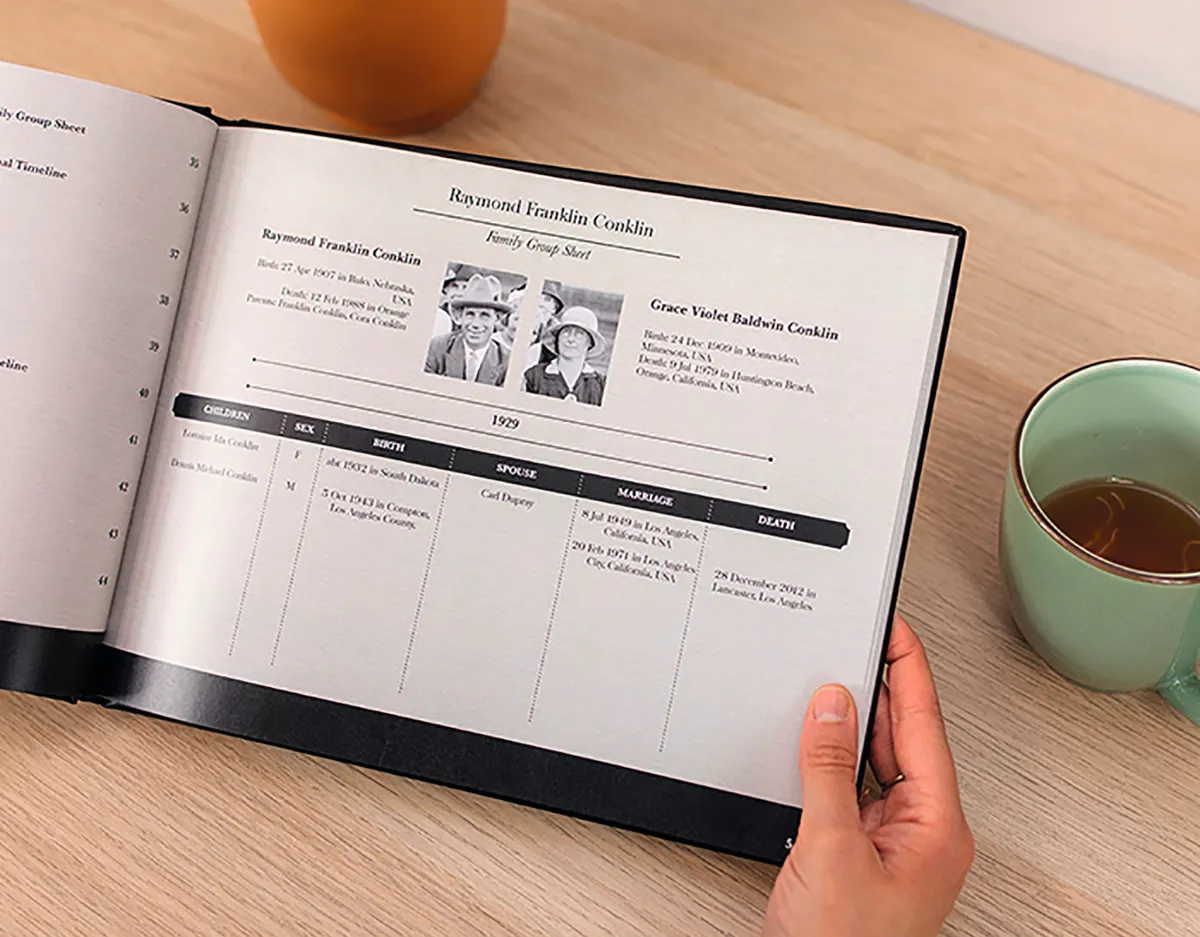
What is a photobook?
A photobook is what it sounds like – a book of your photographs. Many companies now exist that provide photobook services. You simply upload your photographs on your website to have them printed in a book. You can create a photobook of your family, one based around a special occasion such as a particular holiday, or you can sort your old photographs, creating a record of your family’s generations gone by.
In this article, we explain everything you need to know to create a photobook of your family photographs.
How to make a photobook
1. Pick your photos
The first step is – of course – selecting the photographs that you wish to include in your photobook. Start by asking yourself what story you’re trying to tell. Are you simply bringing together all of the photographs you possess for a specific branch of your tree, or are you thinking of telling a specific story from your tree: an individual or family’s life story, or a more focused event?
How many photos will you need? That will depend on the layouts you choose, but you’ll find that most of the photobook templates support one to five images per page, with photo books typically starting at around 20–26 pages.
2. Add extra material
Would it help your photobook to include birth, marriage and death certificates, documents or other interesting memorabilia to provide additional context to the tale you’re trying to tell? If so, remember copyright laws – if you are going to use this kind of material in your photo book, then you ought to make sure that the entire document isn’t on the page. You could have part of it ‘cut off’ at the edge of the page, or you could crop into the area of interest to ensure that only the relevant section is shown – and legible to your readers.

You might also want to include additional non-family photographs to provide some more context – for example, pictures that showcase significant historical events contemporary to the stories you’re telling. Here it’s important that you source copyright-free images, or pictures that are cleared for non-commercial use. A good place to start looking is Wikimedia Commons, although online photos may not be suitable for printing because their resolution is too low.
3. Scan your photos
Now is the time to convert your old photographic prints to a digital format. For this you’ll need access to a flatbed scanner – these days, it’s cheaper to buy a flatbed as part of an all-in-one printer rather than a standalone model – or a suitable smartphone app like PhotoScan that uses your phone’s camera to digitise your photos.
When you’re scanning in your photographs, you need to make sure that you set a suitably high resolution, to ensure that the photos are detailed enough to print. To create a 1:1 copy of your photo, scan at 300 dpi (dots per inch) – if you want to blow up the photo to print a larger copy, try scanning at 600 dpi (or even 900 dpi for an A4 print) instead, but you’re ultimately limited by the quality of the original photo.
To check a photo’s properties, right-click the photo’s file and choose ‘Properties’ (Windows) or ‘Get Info’ (Mac) to examine the image’s dimensions – they’re on the ‘Details’ tab in Windows. A photo measuring six inches by four inches at 300 dpi should be 1,800 pixels wide and 1,200 pixels tall. Anything less and the photograph will need to be printed at a smaller size.
4. Select your publisher
The next step is choosing the publisher for your photobook. You can go with a general photo book publisher such as Bonusprint or consider services that offer specialist family history layouts and themes.
MyCanvas is a good pick because when you log in using the credentials from your Ancestry account, you can link your tree to the service, then simply select an ancestor and let MyCanvas create a book for you – complete with tree, timelines and more, curated from the information stored in your tree. Everything is fully editable, allowing you to insert missing photographs, add more details and also make corrections or edits – for example, to replace historical events from the USA in the timeline with UK equivalents. We also recommend Mixbook, MyCanvas and Forever.
All of the publishers allow you to use their tools for free to build your photo books, and there’s no obligation to buy anything. So it’s worth trying them all to see which one has the templates and editing tools that suit you best.
Look out too for special offers – there’s often a generous discount for signing up, plus time-sensitive promotions such as Father’s Day.
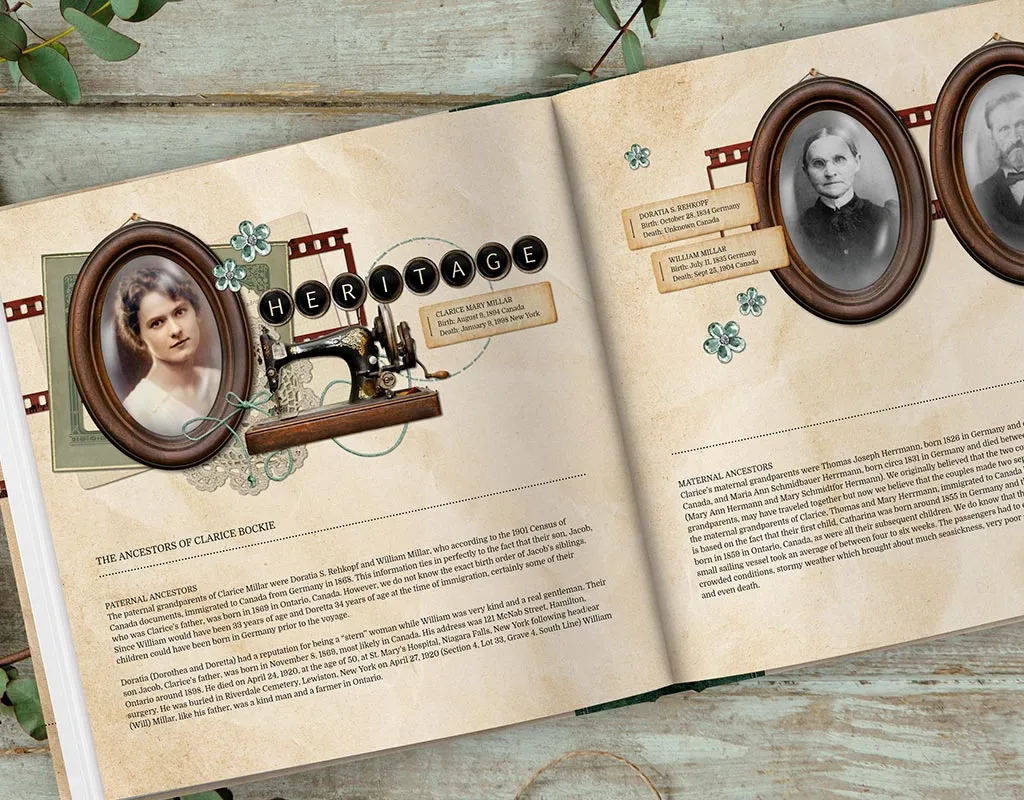
5. Structure your photobook
Decide how your photobook will be structured – what text you want to include, and what order your photographs should go in. While mulling this over, take a look at what templates are available for each page to determine which ones work best with your structure: you should be free to change templates on a page-by-page basis within your theme. Based on how much text each page supports, you can then prepare your captions. If you’re sharing a story, we strongly recommend writing it up in a separate text document from which you can copy and paste, rather than typing directly into the photo book.
6. Check your facts
When you’re composing your photobook, remember to verify that the information you supply is accurate. If you’re not already adopting a cautious ‘source-first’ approach to recording your family history, be sure to check your facts against known sources such as birth, marriage and death certificates and other documents.
Now is a good time to get other family members onboard – see if they have any additional insights to share. For example, can they identify unknown people featured in a photo? At the very least, get someone else in the family to check your work, and flag up any questions or issues that they find.
7. Print your photobook
Once you’ve completed your photobook to your satisfaction, check the quality of your photographs – the online editor should flag images that aren’t of sufficient quality for the size you wish to print them. Finally, perform one last check of the text for any typos, and you’re ready to order. This is quick and easy. You just need to verify that the type of cover (hardback or softback) and paper (matt, gloss and so on) are correct, then choose how many copies to print, make your payment – and sit back and wait for your order to arrive.